How to Embed Chatly on Your Website: Step‑by‑Step Guide and Best Practices
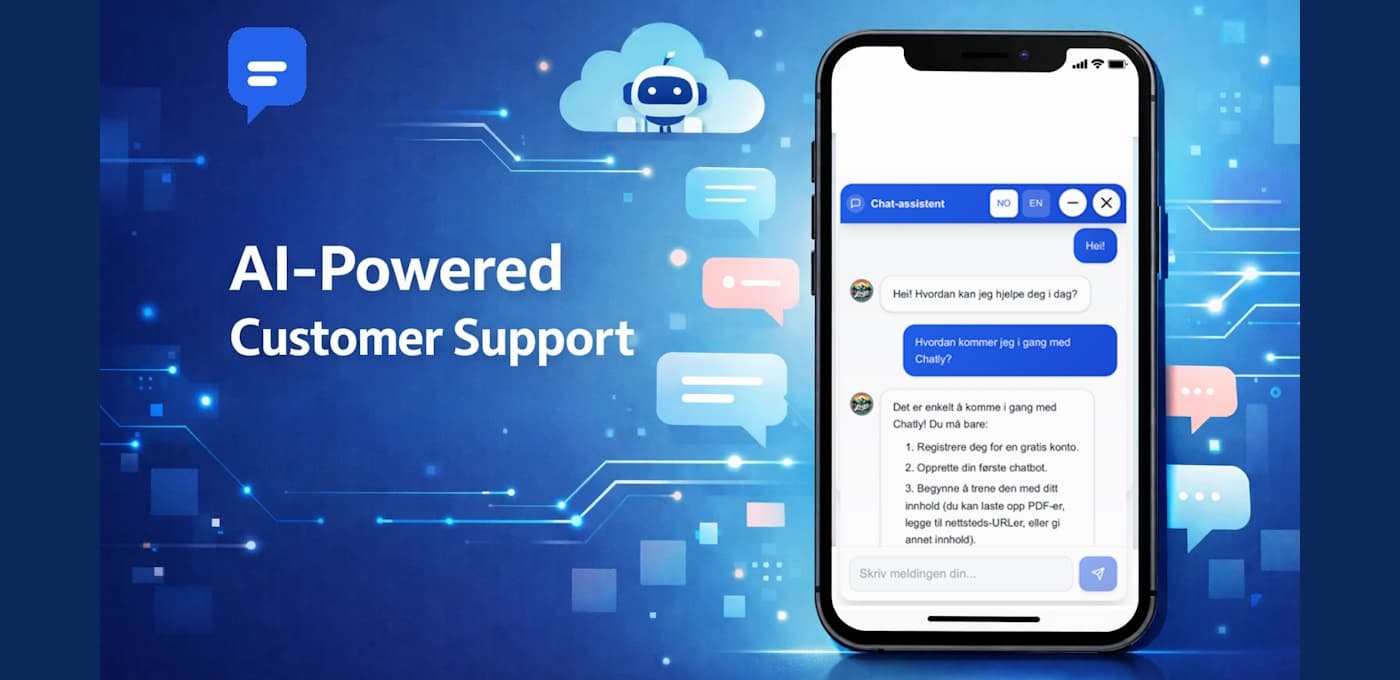
You have created a chatbot in Chatly – now it is time to get it in front of your customers. Fortunately, adding Chatly to your website is straightforward. In this guide, we walk through how to get your embed code, add it to your site (regardless of CMS or tech stack), avoid common mistakes, and follow best practices for placement, design, and welcome messages.
1. Get the Embed Code from Chatly
Once your chatbot is configured in Chatly, the next step is to get the embed code that will display it on your website:
- Go to the Dashboard and select the chatbot you want to publish.
- Find the Integration / Embed section.
- Copy the embed code (typically a
<script>snippet you paste into your site).
The embed code defines which chatbot to show, how the widget should look, and where it should be placed on the page (typically bottom-right). If you later change appearance or settings in Chatly, those changes apply automatically wherever the embed code is installed – you do not need to update the code on your site each time.
2. Add Chatly to Your Website
How you add the code depends on how your website is built. The principle is the same: you add the script once so it loads on every page where you want the chatbot to appear.
a) Custom-Built Site (HTML, React, Next.js, etc.)
On custom-built sites you typically add the embed code right before </body> on the pages where you want the chatbot. If you have a global layout (for example in React or Next.js), place it there so the chatbot appears on every page automatically.
The key is that the script loads after the main content so it does not block the core page from rendering.
b) WordPress
In WordPress you can add the embed code via your theme or by using a plugin:
- Via the theme: Go to Appearance → Theme File Editor, find footer.php (or equivalent), and paste the embed code right before
</body>. Save. - Via plugin: Install a “Header & Footer” plugin (such as “Insert Headers and Footers”) and paste the embed code into the Footer Scripts field. The chatbot will then appear on all pages without you having to edit theme files directly.
c) Webflow, Wix, and Other No-Code Builders
Most no-code platforms have a place for custom code: look for Custom Code, Tracking Code, or Site Settings.
Paste the embed code into the footer or “before </body>” field and republish your site. If you only want the chatbot on specific pages, you can usually add custom code on a per-page basis instead of globally.
3. Test That Everything Works
Once the embed code is added and your site is published, test it as a regular visitor would:
- Open the website in incognito mode or another browser.
- Check that the chatbot icon appears where you expect it (typically bottom-right).
- Start a conversation and test some of the most common questions. Verify that any handoff flows (for example “request to be contacted”) work as intended.
If the chatbot does not appear, check that the code is actually present in the HTML (View page source), that it is not blocked by a cookie banner or ad blocker, and that it has not been pasted inside another script or HTML tag.
4. Best Practices for Placement and Design
Placement
- Bottom-right is the de-facto standard – this is where most users expect to find the chatbot.
- On mobile, make sure the widget does not cover key buttons like “Add to cart” or “Contact us”.
- If you have many floating elements (for example back-to-top buttons), consider moving the chatbot slightly up or to the left so they do not overlap.
Colours and Icon
- Use colours that match your brand, but ensure sufficient contrast against the background.
- The icon should clearly signal chat or messaging – for example a speech bubble.
Welcome Message
The first lines of the chatbot determine whether people actually use it. Avoid generic copy like “Hi, how can I help you?”.
Better examples might look like this:
- "Hi! I am the Chatly bot for [Company Name]. I can help you with opening hours, pricing, and ordering."
- "Unsure which solution fits you? Ask me about plans, pricing, and getting started – or type your own question."
Include 2–4 example questions (as buttons) to lower the barrier, for example:
- "What does it cost?"
- "How do I get started?"
- "Which integrations do you support?"
5. Should the Chatbot Be on Every Page?
As a rule of thumb, it pays to have the chatbot available on most pages, but there are a few exceptions.
Pages Where the Chatbot Should Be Available
- Home page, product pages, and pricing pages
- FAQ, documentation, and support pages
- Blog posts with purchase-oriented topics (for example pricing, implementation, ROI)
Pages Where You Might Hide the Chatbot
- Pages where you do not want distractions, for example special campaign pages with a single clear CTA.
- Internal “thank you for ordering” pages where the next steps are already clear.
Technically, you can control this by only placing the embed code in the layouts or pages where you want it, or by configuring rules in Chatly if your setup supports it.
6. From “Live” to “Optimised”
Getting the chatbot live on your site is the first step. Next, you should use the data to keep improving it over time – for both customer service and sales.
- Monitor volume – how many conversations and messages are you getting?
- Look at escalations – when do people ask for a human, and how often are conversations handed over to customer service?
- Review real conversations weekly or monthly to find content gaps and new, recurring questions.
- Add new content where the chatbot often has to answer “I don’t know”, and connect those answers to strong landing pages on your site.
We also have a dedicated guide on KPIs and analytics for AI chatbots where you can dive deeper into the numbers and how to measure success. It is a great next read once your embed is in place.
Conclusion
In practice, getting Chatly onto your website comes down to three simple steps: get the embed code, paste it into a place that loads on your pages, and test that everything works. From there it is about smart placement, a thoughtful welcome message, and continuous improvement based on real conversations.
Once this is in place, your chatbot moves from being an internal project to a visible part of the customer journey – available 24/7 for both existing and potential customers.
Ready to get Chatly live on your website?
Create a Chatly account, build your first bot, and grab the embed code – the rest can be done in under thirty minutes.
Start your free trial